jimbo69ny
Well-known member
Hello Everyone,
I have a really cool mod to show you!
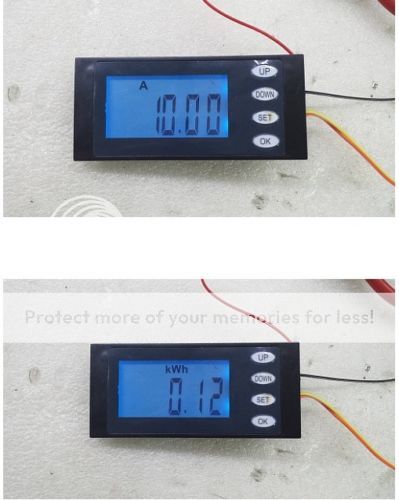
Our cars really should have a charging display that shows how many volts and amps you are charging at and how long you have been charging. I know they tried to cut corners to save money on this car but this was not a hard option to add. It took me about an hour to do and only cost me $13 for a display and a few bucks for wire.
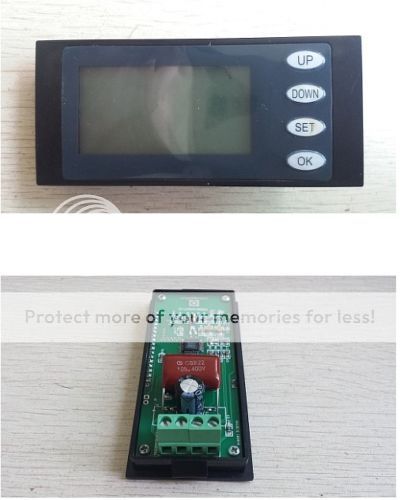
If you want to do this, here is the display I purchased. You could really use any display as long as it allows for 220 volts.
http://www.ebay.com/itm/171306062302?_trksid=p2059210.m2749.l2649&ssPageName=STRK%3AMEBIDX%3AIT
INSTRUCTIONS: (FOLLOW THESE AND PERFORM THIS MOD AT YOUR OWN RISK)
1. Unscrew the 4 - 10 mm bolts holding in the j1772 charging port.
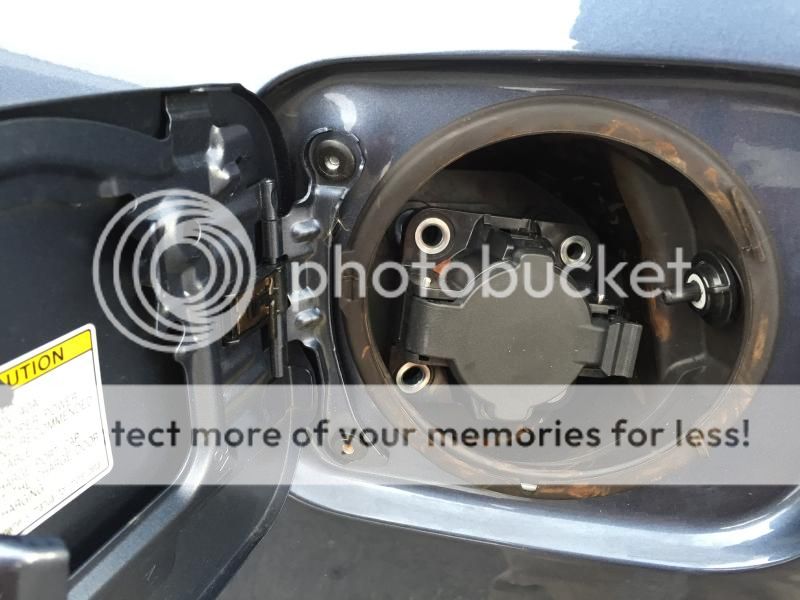
2. Unscrew the 3 - 10 mm bolts holding the power line cover located inside the driver side rear tire well. (Dont worry there is no power unless you are charging. SO MAKE SURE YOU ARE NOT CHARGING WHILE DOING THIS)
3. Unplug the j1772, remove it from the car, and take it inside.

4. First remove the white cover then remove the orange clip from the female j1772.
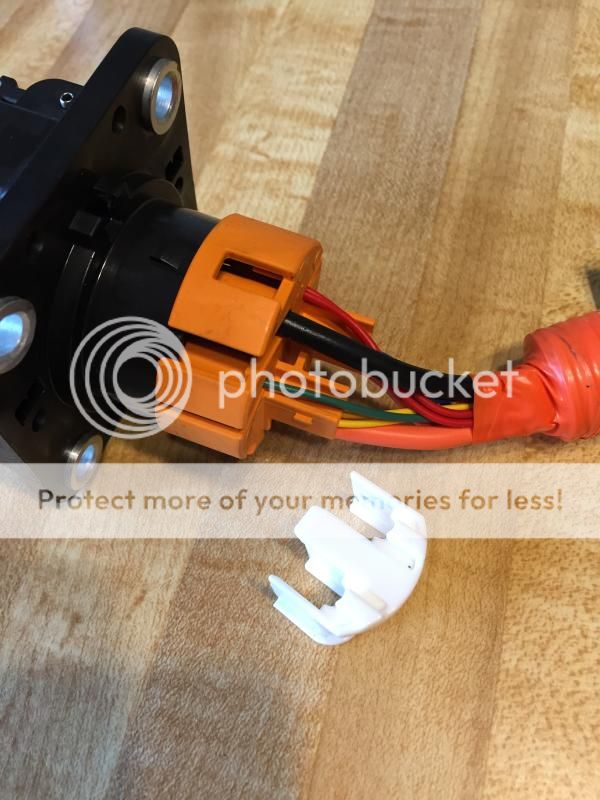
5. Pull out one of the 2 main orange power wires and slip the current meter ring over it.
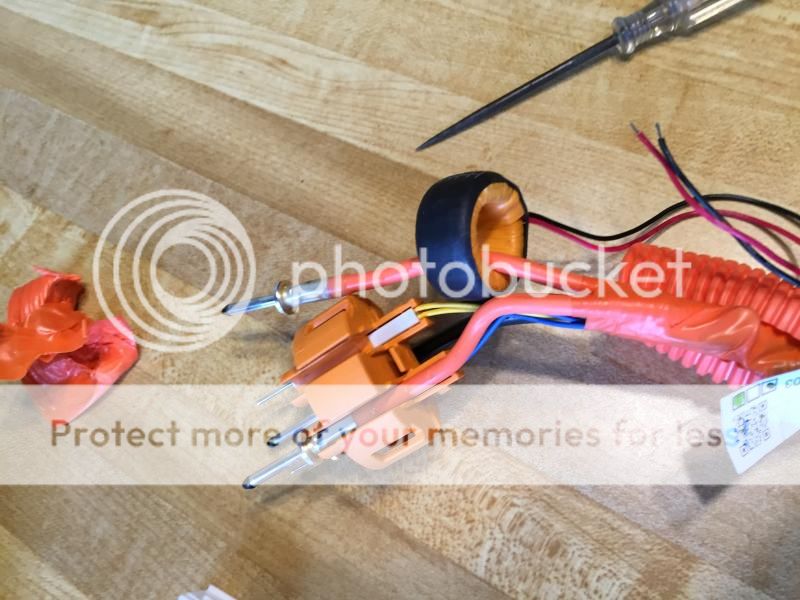
6. Use a sharp, pointed object and jam it through the wire to create a hole for your signal wire.
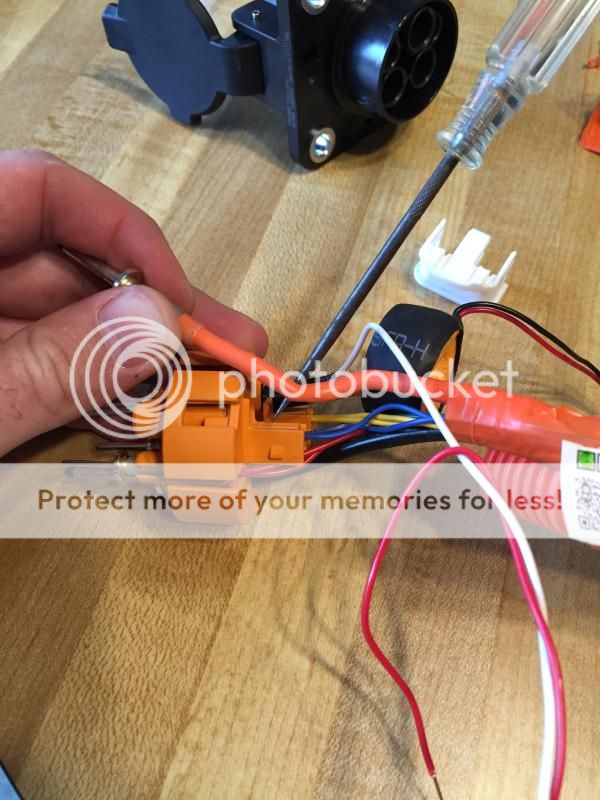
7. Cut two lengths of wire that are long enough to place your display where ever you want it. I used 16 ga doorbell wire from Lowes. Its the same stuff I use in my OpenEVSE builds. (I HAVE SINCE PULLED THE WIRE OUT AND USED 500 VOLT WIRE FROM HOME DEPOT. I FORGET THE SIZE, 14 GA I THINK. I NEVER HAD ANY ISSUES BUT I WANTED TO BE SAFE) I put my display where my power point was. Make sure you leave yourself plenty of wire so you dont have to splice it if you find out its too short!!! Tony put his in place of the blinking lights in the window. Its all personal preference.
8. Slide the wire through each of the holes you created then squeeze the wire so you know its making contact. When you are done wrap them with electrical tape and/or heatshrink. Do this on both power wires.
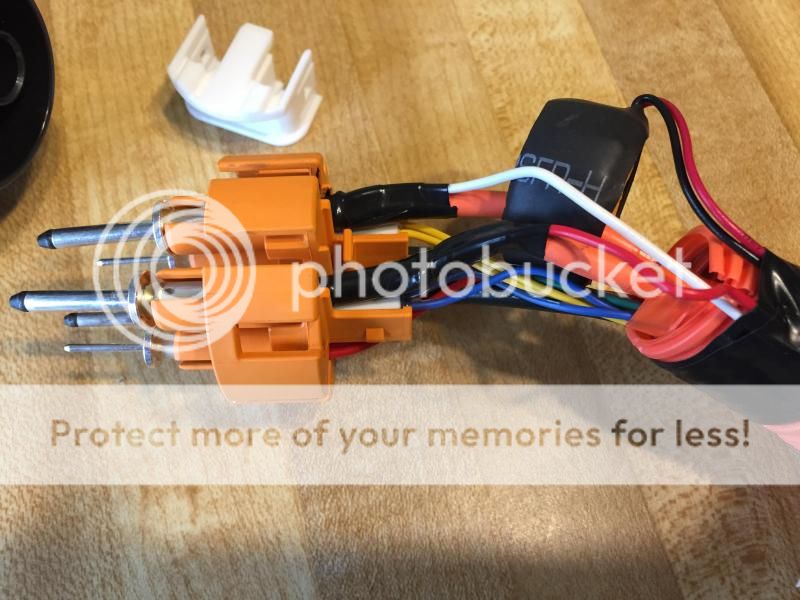
9. Solder the wire to the coil wires and wrap the connection with 3m electrical tape.
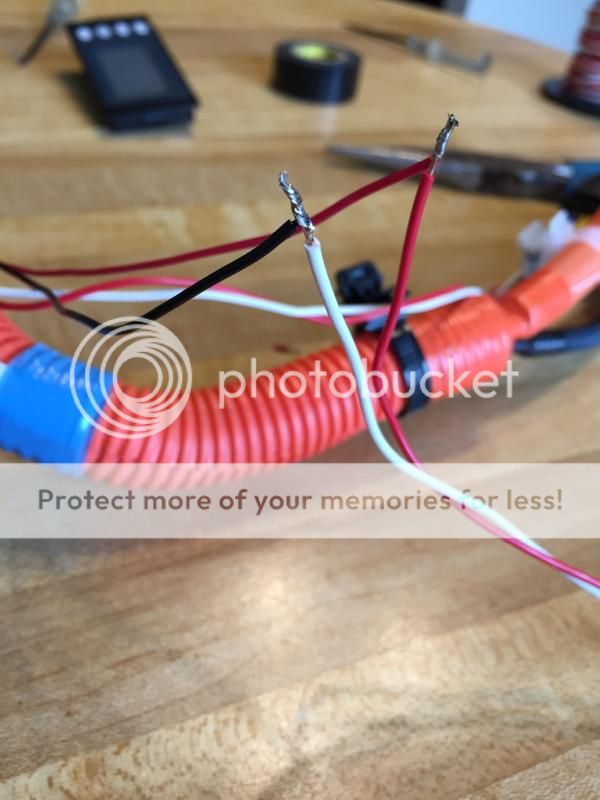
10. Bring the j1772 back to the car, slide all the wire through the hole, the plugs and then screw the 4 - 10 mm bolts back in.
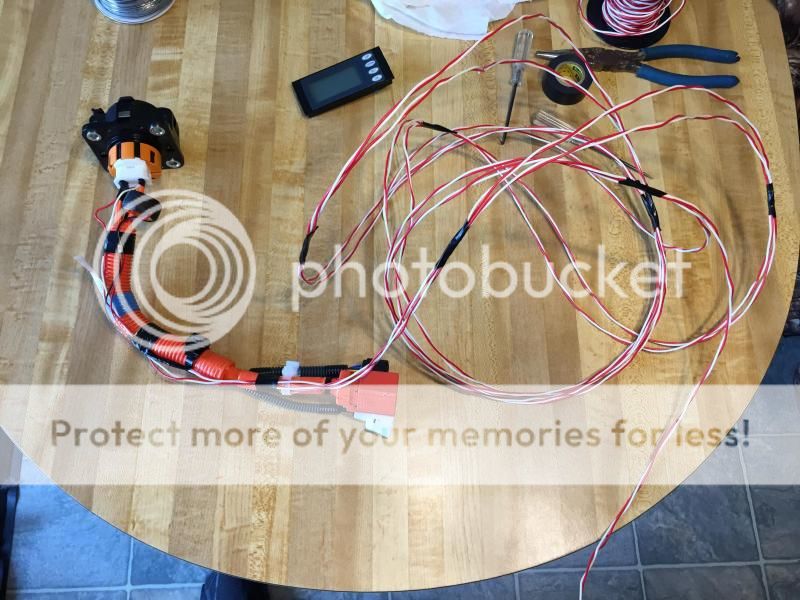
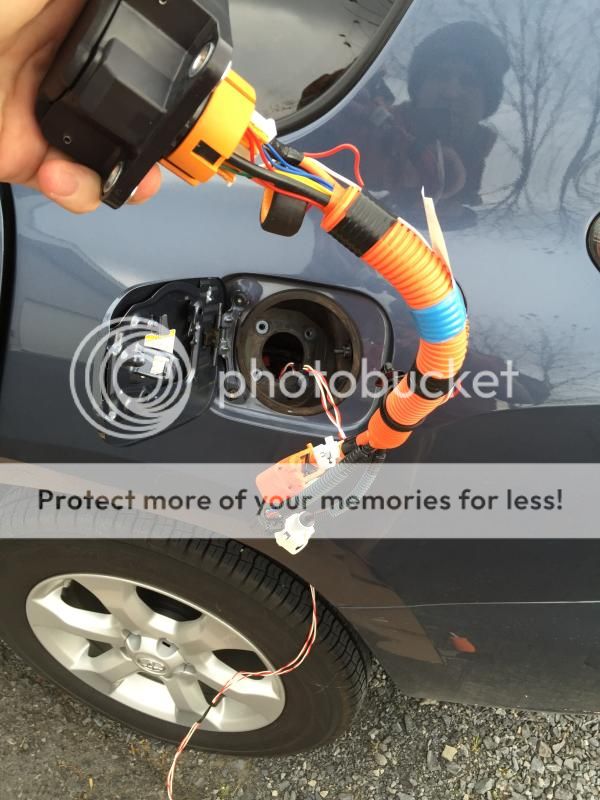
11. Connect the connectors, secure the signal wires, and screw the cover back in place.
12. I ran my wires to the left of the battery where there is a convenient chamber that runs to the front of the car. (I SINCE HAVE CHANGED THE PATH OF THE WIRES AND ADDED FLEX LOOM TO PROTECT THEM. I FOUND AN UNUSED CROMMET IN THE DRIVER SIDE REAR CORNER OF THE CAR. I BROUGHT THE WIRES INTO THE AREA WHERE THE GATEWAY IS AND THEN RAN THE WIRES DOWN THE SILL PANEL OF THE VEHICLE)
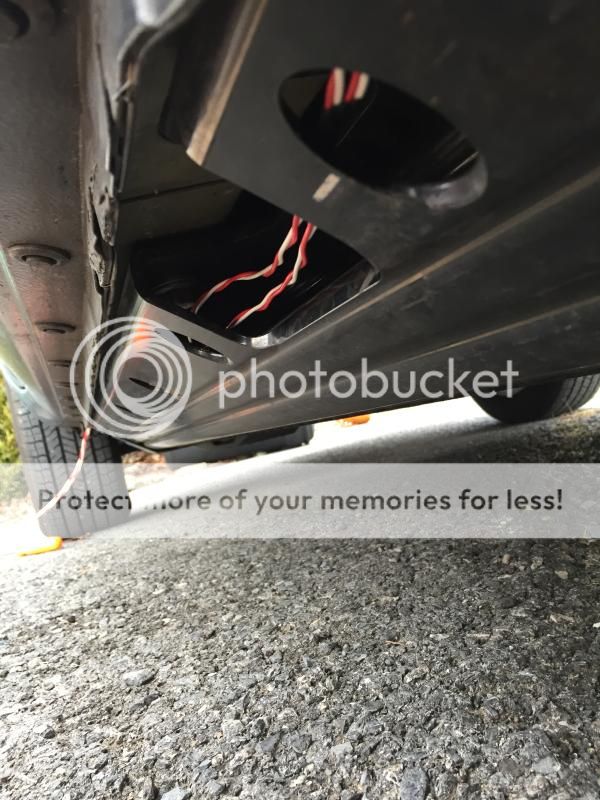
13. Once at the front I had to get creative. Its not the best way but it was 30 degrees and at this point I was getting cold. I used a metal rod and slid it in between the panels and taped the wire to the end so I could pull it too the door jam. I wrapped the 4 wires in 3m electrical tape (only use the best) and ran it under the weatherstripping to get it inside the cabin. MAKE SURE YOU RUN THE WIRE AS PARALLEL WITH THE WEATHER STRIPPING AS POSSIBLE. IF YOU RUN IT 90 PERPENDICULAR WITH THE WEATHERSTRIPPING THE SMALL SIGNAL WIRES COULD BREAK! (THIS DIDNT SEEM SAFE TO ME SO THIS IS PART OF THE REASON I RE RAN THE WIRES THROUGH THE GROMMET AND INSIDE OF THE VEHICLE)
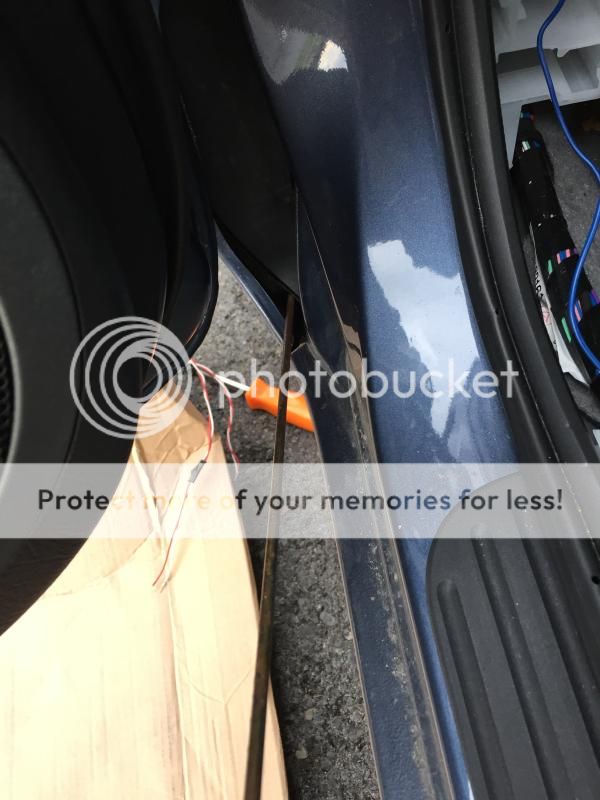
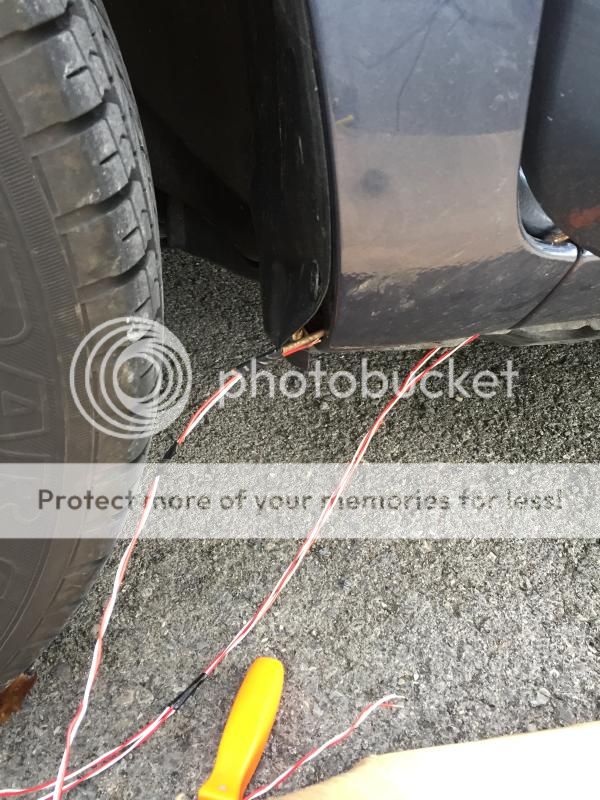
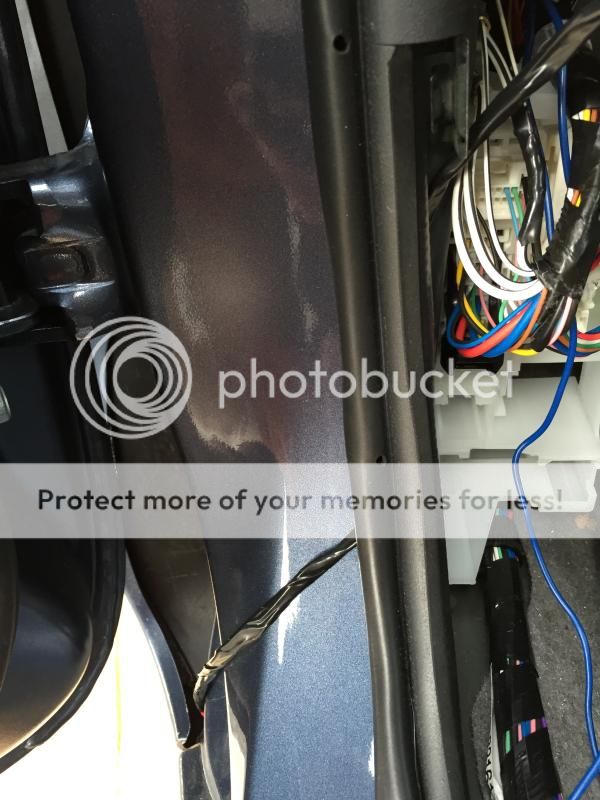
14. Then run the wires wherever you want the display. If you want to put it where I did you will need to remove the sill panel, the lower foot well panel (2 screws) and the panel where the power point is. The power point/stability control panel just pulls out. Give it a good tug and it will pop out. There is a little tab inside of the power point that you need to press with a screw driver in order to remove it. Push it in hard and the silver part will slide out towards you. Then you can push the two tabs and remove the black piece. I need to get some double stick tape to finalize my install. For now though its in there and working.
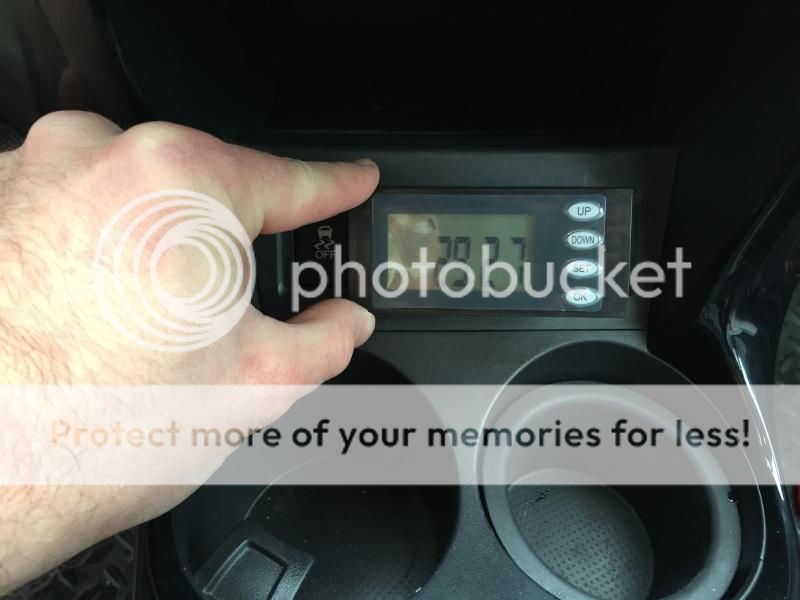
I think thats about it. Let me know if you have any questions.
If you want to see more photos go to my photobucket page:
http://s59.photobucket.com/user/jimbo69ny/library/2014%20Toyota%20Rav4%20EV/Charging%20display%20mod
UPDATE:
This display fried so I bought another one which you will see pictures of later. What I discovered was that the current ring is specific to the display that you are using. When I connected my new display it said the car was charging at roughly half the amperage it was actually getting. I swapped out the ring with the one that came with the new display and now its working perfectly.
ENJOY
I have a really cool mod to show you!
Our cars really should have a charging display that shows how many volts and amps you are charging at and how long you have been charging. I know they tried to cut corners to save money on this car but this was not a hard option to add. It took me about an hour to do and only cost me $13 for a display and a few bucks for wire.
If you want to do this, here is the display I purchased. You could really use any display as long as it allows for 220 volts.
http://www.ebay.com/itm/171306062302?_trksid=p2059210.m2749.l2649&ssPageName=STRK%3AMEBIDX%3AIT


INSTRUCTIONS: (FOLLOW THESE AND PERFORM THIS MOD AT YOUR OWN RISK)
1. Unscrew the 4 - 10 mm bolts holding in the j1772 charging port.

2. Unscrew the 3 - 10 mm bolts holding the power line cover located inside the driver side rear tire well. (Dont worry there is no power unless you are charging. SO MAKE SURE YOU ARE NOT CHARGING WHILE DOING THIS)
3. Unplug the j1772, remove it from the car, and take it inside.

4. First remove the white cover then remove the orange clip from the female j1772.

5. Pull out one of the 2 main orange power wires and slip the current meter ring over it.

6. Use a sharp, pointed object and jam it through the wire to create a hole for your signal wire.

7. Cut two lengths of wire that are long enough to place your display where ever you want it. I used 16 ga doorbell wire from Lowes. Its the same stuff I use in my OpenEVSE builds. (I HAVE SINCE PULLED THE WIRE OUT AND USED 500 VOLT WIRE FROM HOME DEPOT. I FORGET THE SIZE, 14 GA I THINK. I NEVER HAD ANY ISSUES BUT I WANTED TO BE SAFE) I put my display where my power point was. Make sure you leave yourself plenty of wire so you dont have to splice it if you find out its too short!!! Tony put his in place of the blinking lights in the window. Its all personal preference.
8. Slide the wire through each of the holes you created then squeeze the wire so you know its making contact. When you are done wrap them with electrical tape and/or heatshrink. Do this on both power wires.

9. Solder the wire to the coil wires and wrap the connection with 3m electrical tape.

10. Bring the j1772 back to the car, slide all the wire through the hole, the plugs and then screw the 4 - 10 mm bolts back in.


11. Connect the connectors, secure the signal wires, and screw the cover back in place.
12. I ran my wires to the left of the battery where there is a convenient chamber that runs to the front of the car. (I SINCE HAVE CHANGED THE PATH OF THE WIRES AND ADDED FLEX LOOM TO PROTECT THEM. I FOUND AN UNUSED CROMMET IN THE DRIVER SIDE REAR CORNER OF THE CAR. I BROUGHT THE WIRES INTO THE AREA WHERE THE GATEWAY IS AND THEN RAN THE WIRES DOWN THE SILL PANEL OF THE VEHICLE)

13. Once at the front I had to get creative. Its not the best way but it was 30 degrees and at this point I was getting cold. I used a metal rod and slid it in between the panels and taped the wire to the end so I could pull it too the door jam. I wrapped the 4 wires in 3m electrical tape (only use the best) and ran it under the weatherstripping to get it inside the cabin. MAKE SURE YOU RUN THE WIRE AS PARALLEL WITH THE WEATHER STRIPPING AS POSSIBLE. IF YOU RUN IT 90 PERPENDICULAR WITH THE WEATHERSTRIPPING THE SMALL SIGNAL WIRES COULD BREAK! (THIS DIDNT SEEM SAFE TO ME SO THIS IS PART OF THE REASON I RE RAN THE WIRES THROUGH THE GROMMET AND INSIDE OF THE VEHICLE)


14. Then run the wires wherever you want the display. If you want to put it where I did you will need to remove the sill panel, the lower foot well panel (2 screws) and the panel where the power point is. The power point/stability control panel just pulls out. Give it a good tug and it will pop out. There is a little tab inside of the power point that you need to press with a screw driver in order to remove it. Push it in hard and the silver part will slide out towards you. Then you can push the two tabs and remove the black piece. I need to get some double stick tape to finalize my install. For now though its in there and working.

I think thats about it. Let me know if you have any questions.
If you want to see more photos go to my photobucket page:
http://s59.photobucket.com/user/jimbo69ny/library/2014%20Toyota%20Rav4%20EV/Charging%20display%20mod
UPDATE:
This display fried so I bought another one which you will see pictures of later. What I discovered was that the current ring is specific to the display that you are using. When I connected my new display it said the car was charging at roughly half the amperage it was actually getting. I swapped out the ring with the one that came with the new display and now its working perfectly.
ENJOY


